
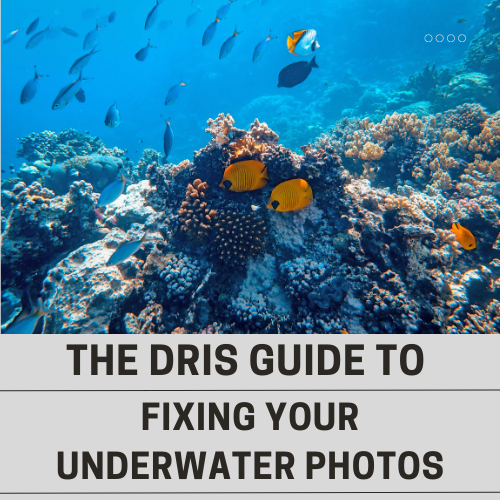
Hey there, Ansel Adams of the Reef. Let’s talk.
You bought the camera. You bought the housing. You went on an amazing dive, saw a turtle, a shark, and a kaleidoscope of reef fish. You rushed back to the boat, excited to show your friends the National Geographic-level content you just captured.
You opened the file, and... it’s blue. Or green. And blurry. The turtle looks like a gray rock, and the shark is just a smudge in the distance.
Welcome to underwater photography. It is the most rewarding, frustrating, and expensive addiction you can have. But you don't need a $10,000 rig to take good photos. You just need to understand how light works underwater and stop making a few rookie mistakes.
Here is how to stop taking pictures of "blue blobs" and start capturing images you actually want to post.
The Golden Rule: Get Close, Then Get Closer
Water is dense. It’s 800 times denser than air. Even the clearest Caribbean water is full of microscopic particles.
When you take a photo of something 10 feet away, your camera has to look through 10 feet of particulate matter. The result? The subject looks washed out, hazy, and boring.
The Fix: Get close. When you think you are close enough, get closer (safely). The less water between your lens and the subject, the sharper the image and the better the color. We are talking inches away for macro, and just a few feet for wide angle.
Physics is a Bully (You Need Light)
Remember Roy G. Biv from science class? Water absorbs light, starting with the red end of the spectrum.
-
At 15 feet: You’ve lost most of your reds.
-
At 30 feet: You’ve lost your oranges.
-
At 60 feet: Everything is monochromatic blue-green.
Your camera isn't broken; it’s just recording the reality of the physics.
The Fix: You have two options:
-
Filters: A red filter (for blue water) or magenta filter (for green water) tricks the camera into seeing color again. It’s a cheap, effective fix for GoPros and action cams.
-
Artificial Light: Video lights or strobes. This is the pro move. By bringing a light source down with you, you are putting the full color spectrum back onto the subject.
Shoot Up, Not Down
New photographers tend to swim over the reef and shoot straight down at the bottom. The result? A flat, cluttered image where the fish blends into the coral, which blends into the sand. It’s messy.
The Fix: Get low. Get below your subject and shoot up towards the surface. This frames your subject against the blue water (or the sun), creating a clean background that makes the subject pop. Plus, it makes marine life look heroic rather than small.
Buoyancy is Your Tripod
You cannot take a steady shot if you are flailing your arms to stay neutral. If you are struggling with your buoyancy, your photos will suffer. Worse, if you are focusing on your camera screen and not your position, you become a hazard to the reef. There is nothing, absolutely nothing, worse than a photographer laying on a coral head to get a shot of a nudibranch.
The Fix: Master your hover. You should be able to sit motionless in the water column before you even touch the shutter. If you can't, put the camera down and take a Peak Performance Buoyancy class first.
Macro vs. Wide Angle: Pick a Lane
Cameras (especially compacts and action cams) struggle to do everything at once.
-
Macro: Tiny stuff (nudibranchs, shrimp, blennies).
-
Wide Angle: Big stuff (wrecks, sharks, reef-scapes).
The Fix: Decide what you are shooting before you jump in. If you are set up for macro, don't waste your dive chasing a passing eagle ray. If you have a wide-angle dome port on, don't try to photograph a grand of sand. Play to your gear’s strengths.
Post-Processing isn't Cheating
Some people say, "I want my photos to look natural, so I don't edit them." Here is the problem: A camera sensor doesn't see "naturally" underwater. It sees a lack of contrast and color.
The Fix: You don't need to Photoshop in a fake mermaid, but you do need to color correct. Apps like Dive+ or software like Adobe Lightroom are essential. Adding a little contrast and adjusting the white balance can turn a trash bin file into a masterpiece.
A Note on AI: We have to mention this because it's 2026. Tools like "Generative Fill" are powerful, but there is a fine line.
-
Okay: Removing backscatter (the little white specks) or a stray fin from the corner of the frame.
-
Not Okay: Adding a Great White Shark to your Haigh Quarry dive. We know you didn't see that, Kevin. Don't use AI to invent a dive you didn't do. Keep it real.
Ready to Level Up?
Reading an article is great, but getting in the water is better. At Dive Right In Scuba, we're offering a Free Underwater Digital Image Diver seminar in March to coincide with the creation of a new specialty course that takes the guesswork out capturing stunnning underwater photos. Whether you are rocking a GoPro or a full DSLR rig, we can help you dial it in.
Stop settling for blue blobs. Let’s make some art.